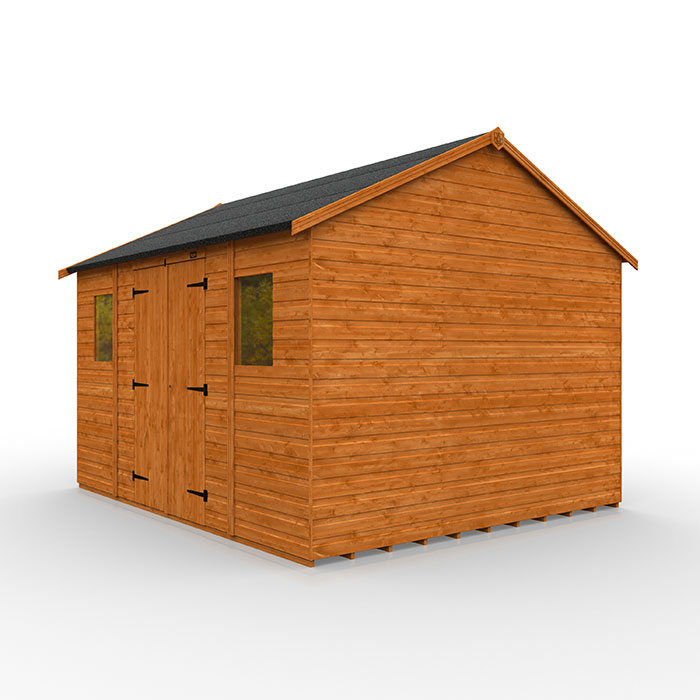
Tiger Workman Apex
FREE STANDARD DELIVERY to UK mainland* (exceptions apply)
Features:
- Large Full Height Double Doors
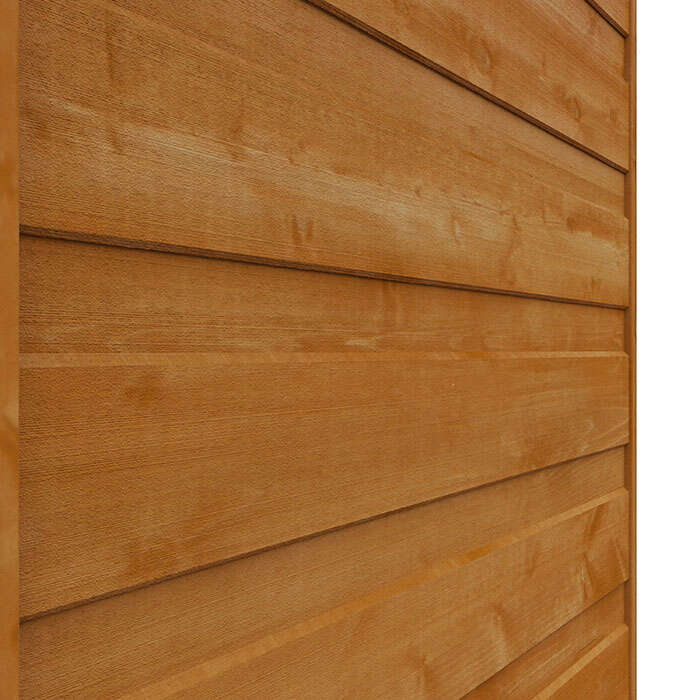
- Superior Grade 12mm Finish Shiplap Cladding
- 28x44mm Finish Rounded Four Corner Framing
- Massive Interior Storage Space With Extra Height
- Alternative design to XL Heavyweight Workshop
Why Choose Tiger?
It’s not just the standard of the wood we use that defines a Tiger and marks it out as a high quality building, but the finishing touches and the extra care we take to ensure you can find your perfect space.Customer Reviews
See what our customer think about their Tiger Workman Apex: (129 Great Reviews)Customer Images
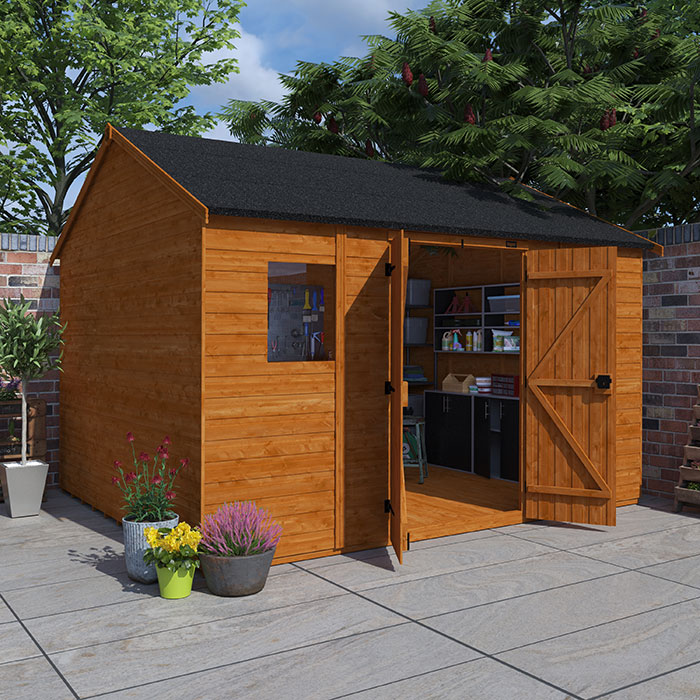
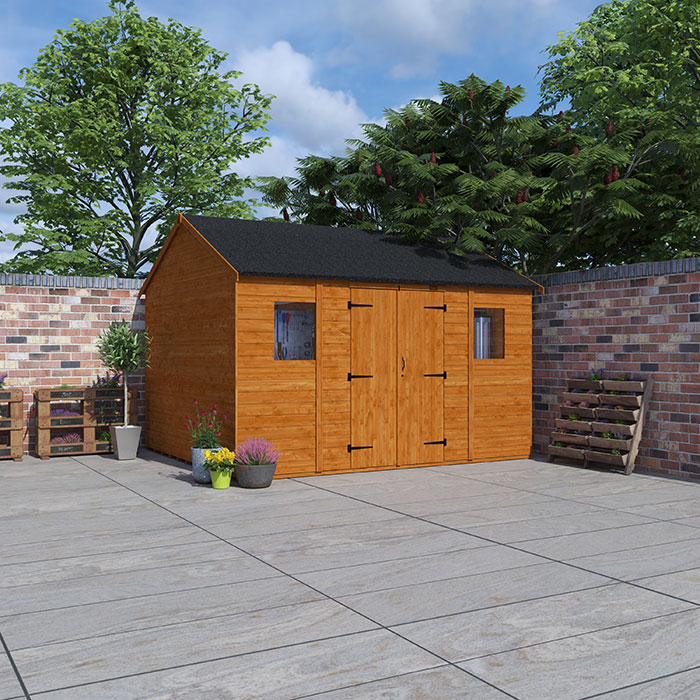
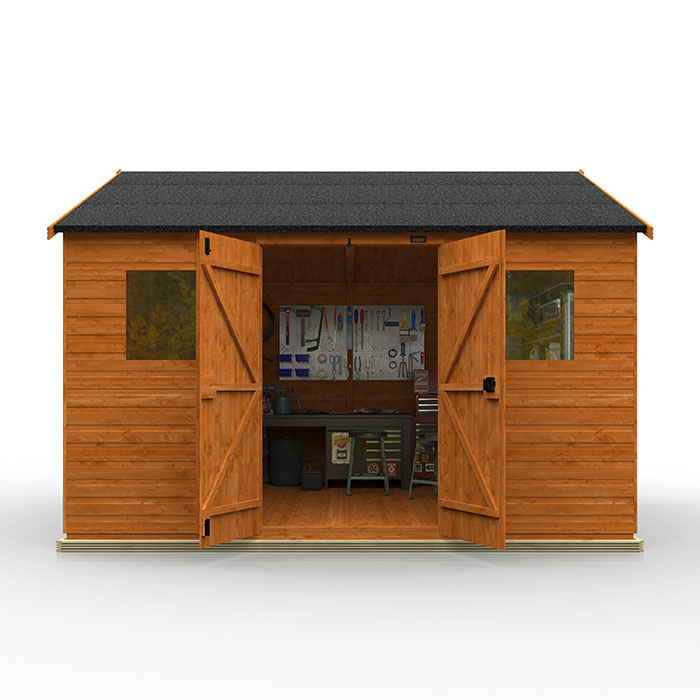
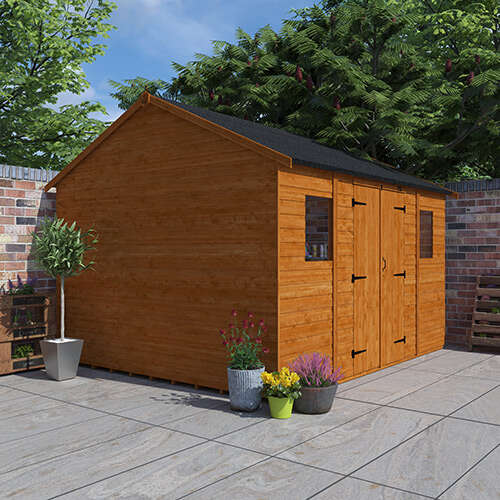
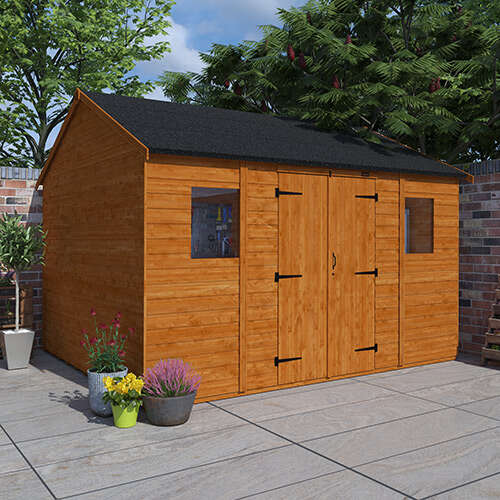
Use the hashtag #mytigershed to share your Tiger with the worldA new twist on an old favourite, the Tiger Workman Apex, provides all the classic features of the XL Heavyweight Workshop, with a new design. Built in a range of sizes, the Workman provides practical and ample storage for any outdoor space. Built to the same measurements as the heavyweight workshop, the Workman boasts fantastic eaves height, making it an ideal space for storage or as a workshop. The double doors have been repositioned on the long side of the building, allowing the Workman to be pushed up against a wall or fence, ensuring easy access. With windows positioned either side of the door, the Workman’s' design is aesthetically pleasing, but it is safe to say its beauty is matched by its brawn. Finished with 12mm shiplap cladding and supported by ultra strong rounded four corner framework, all crafted from the highest quality European softwoods, this building is truly built to last.
BEWARE OF CHEAP IMITATION GARDEN SHEDS:
Unlike many budget competitor products this garden shed is built with only the highest quality materials and many garden buildings in the market simply cannot compare!
- THIS GARDEN WORKSHOP SHED is clad with high grade 12mm finish shiplap tongue and groove cladding – beware of sheds that feature poorly finished rough edged boards milled out of inferior timber often with a thinner finish.
- THIS GARDEN WORKSHOP SHED features heavyweight ‘rounded 4 corner’ 28x44mm finish framework throughout giving it the strength to last – beware of sheds that use rough sawn ‘matchstick thin’ framework that barely hold the shed together.
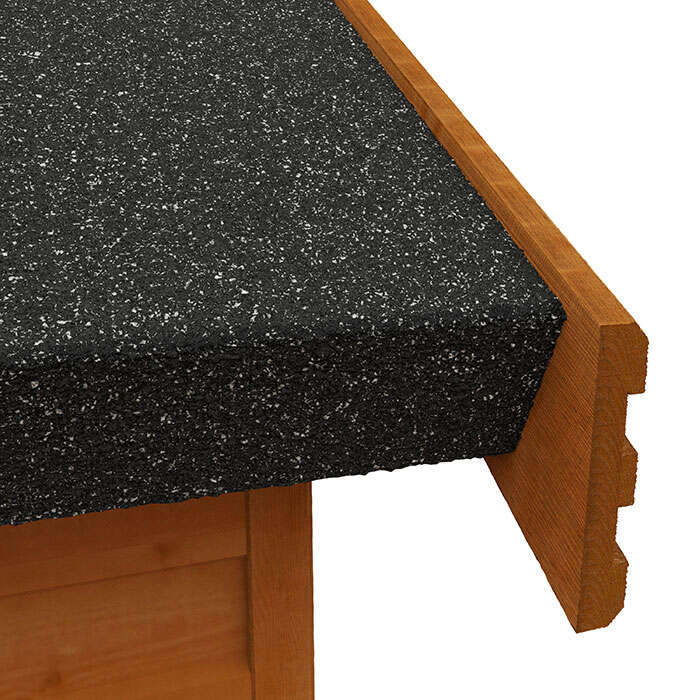
- THIS GARDEN WORKSHOP SHED features thick tongue and grooved floorboard in the floor and roof sections and contains NO cheap sheet materials such as OSB or chipboard – beware of sheds that use single piece OSB / chipboard roofs that offer little protection in the areas where you need it most.
- THIS GARDEN WORKSHOP SHED retains our extra high ridge height – beware of sheds that are incredibly low making it difficult to stand up inside.
It is essential that this garden shed is assembled strictly in accordance with the instructions supplied on a firm and level base constructed from a suitably durable material. The garden shed should also be treated shortly after assembly and then annually thereafter with an appropriate high quality preservative and all glazing units must be sealed, inside and out, with silicone or other water tight sealant.
For more information on how to correctly assemble and maintain your garden shed please consult our comprehensive help centre.
Please note - 10x8 and 12x8 floors may come in two sections with the floor joists running the 8ft direction. For clarification please speak to one of our telephone advisors.
All images and photography used is purely for illustrative purposes only – actual product colours may vary slightly due to the digital photography process and variations in individual user monitor settings.
View Technical DataTechnical Information Sizes are approximate only and refer to external dimensions excluding roof overhangs. For specific dimensions please consult our technical department. If you wish to download the technical data for this building, please visit the 'Downloads' section.

The TIGER 20 year guarantee offers protection against general timber rot and decay – the guarantee does not cover the product against timber splits or warping which may occur naturally over time.
To maintain the validity of this guarantee the product must be assembled strictly in accordance with the instructions supplied, treated annually with an appropriate high quality preservative and all glazing units must be sealed, inside and out, with silicone or other watertight sealant. For more information on how to correctly assemble and maintain your garden building please consult our comprehensive help centre
Frequently Asked Questions
Get to grips with your new TigerIt is essential that all garden buildings are assembled on a firm and level base constructed from an appropriate and durable material.
Without the correct base, buildings may be very difficult to assemble. In many cases, an incorrect base may lead to future deterioration of the product if assembly cannot be completed correctly as a result. Problems may include doors dropping out of square and becoming difficult to open and close, and/or water leakage.
Assembling a garden building on an incorrect base is also likely to invalidate any guarantee that your product may carry.
For full details and examples of how to create an appropriate base visit our Build a Base Guide.
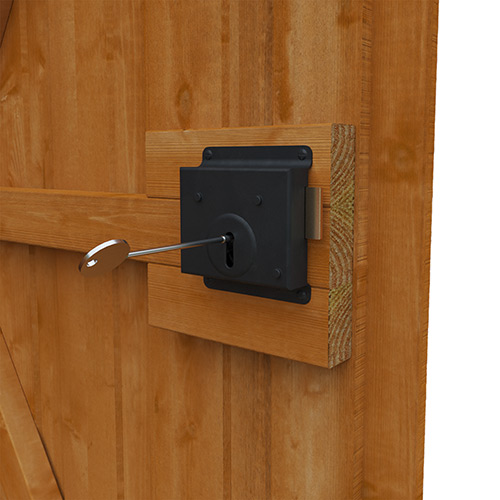
Yes: unlike many competitors, all Tiger buildings with a door come with a lock and key as standard - you do not need to pay for these as an additional extra.
The lock will be pre-fitted, and the key will either be attached to the door framing or in the polytube containing all the fixtures and fittings.
For most sheds and summerhouses it is a standard press lock, while for pressure-treated buildings and log cabins it is a 3-lever lock.
There should be an assembly video available to help put your building together. These cover different building types rather than individual building ranges, so while they are very helpful in showing how different building features are fitted please always use the instructions for your building model.
You can find the assembly video in the video player section on the product page, and also in the video library in the Help Centre - just click this link.
Tiger is rated as the Best Overall Garden Building Retailer by independent expert review site, WhatShed?
Tiger scored 95% in the most recent WhatShed? Assessment.
We also have a high review score on Reviews.io as well as Trustpilot, as well as many great reviews from satisfied customers.
If you would like to add window beading to your shed, select the Window Glazing Kit from the Window Options as you customise your shed.
To fix, apply sealant evenly around the inner window frame, then place window pane into the frame and press carefully to bond the sealant.
Position the beading around the inner frame and gently tap into place, starting with the top beading. Secure with panel pins (x3 left and right, x2 top and bottom).
Then apply the clear sealant evenly around the outer window edge.
There is an easy video guide to follow at in the Tiger Help Centre.
DO NOT mistake the long corner strips supplied with your shed for window beading.
TigerFlex sheds are delivered with fitted windows together with beading so do not require additional beading.
This is a very helpful accessory to keep your garden building door(s) open when you need easy access or additional ventilation on hot days. Hook and eye sets are simple to fit, and there are also helpful videos in the Help Centre here (or visit https://www.tigersheds.com/helpcentre/videos/).
Firstly, to find the best position, hold hook level on building suitable for good placement of eye on door. The eye location should match door framing on inside door, away from any glazing. Mark hook location on building (use spirit level if preferred). Then screw in the hook at chosen position.Then use the fixed hook to relocate the eye on the door and mark its location. Screw the eye into door frame - and the hook should fit securely into eye.
Request Your Free Tiger Sheds Brochure
Requesting your free brochure couldn't be easier... Simply click the button below. Enter your details and we will email the download links to our brochures to you. Request Brochure
Secure Payments

Get Social
Follow Us OnSpeak To An Expert
Tel: 0113 205 4189
Mon-Fri 9am-5pm














.jpg)
.jpg)
.jpg)
.jpg)
.jpg)
.jpg)

