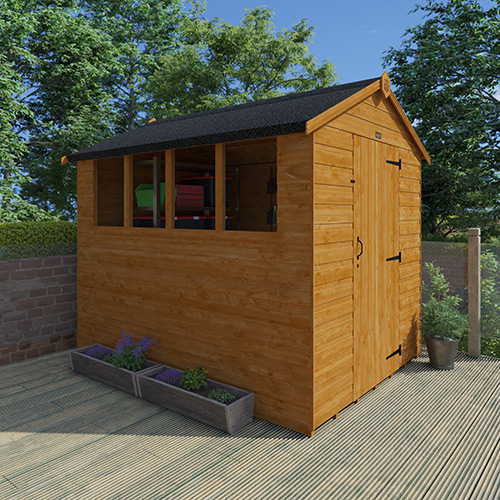
Tiger Shiplap Apex Shed
FREE STANDARD DELIVERY to UK mainland* (exceptions apply)
Features:
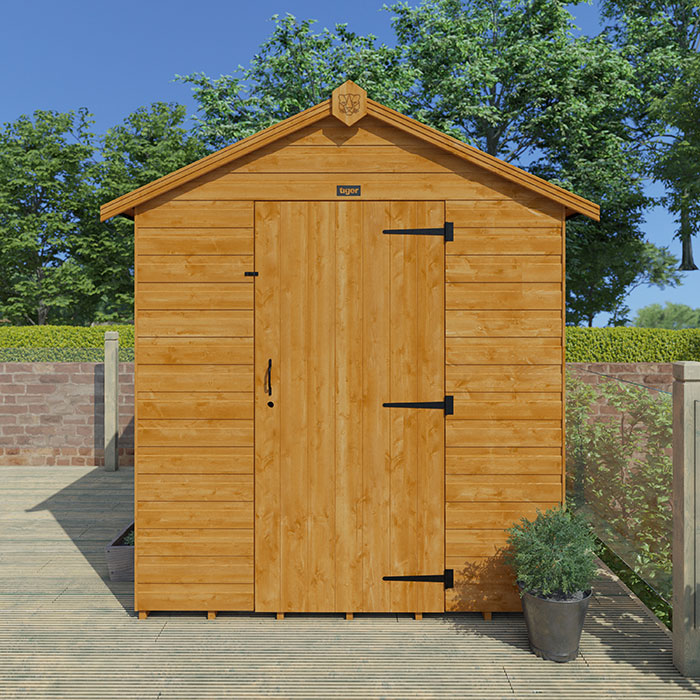
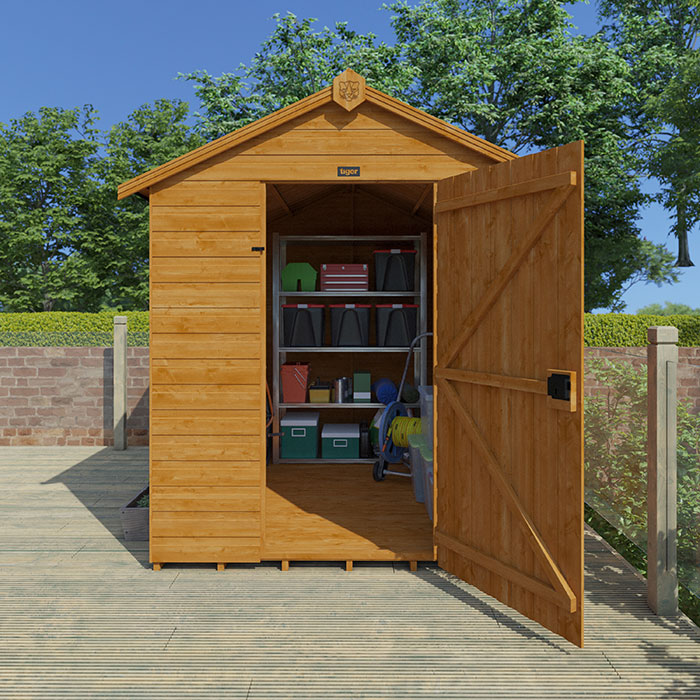
- Well Braced Single Access Door
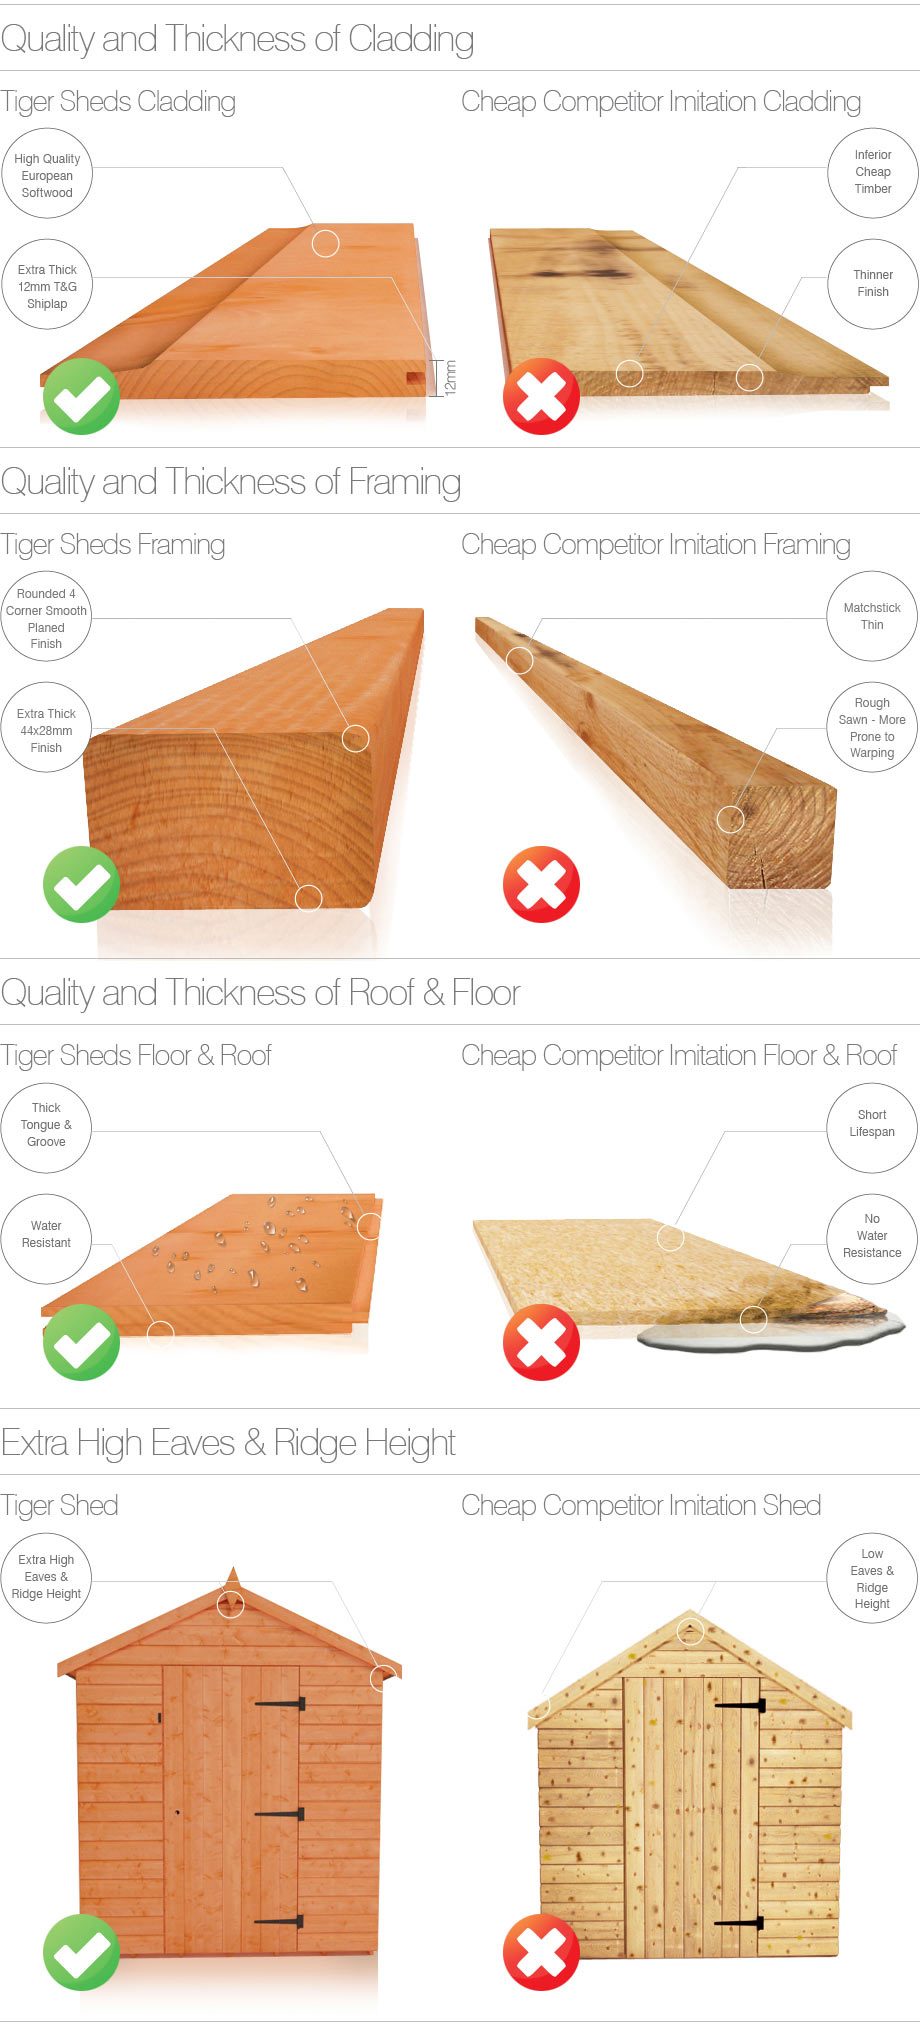
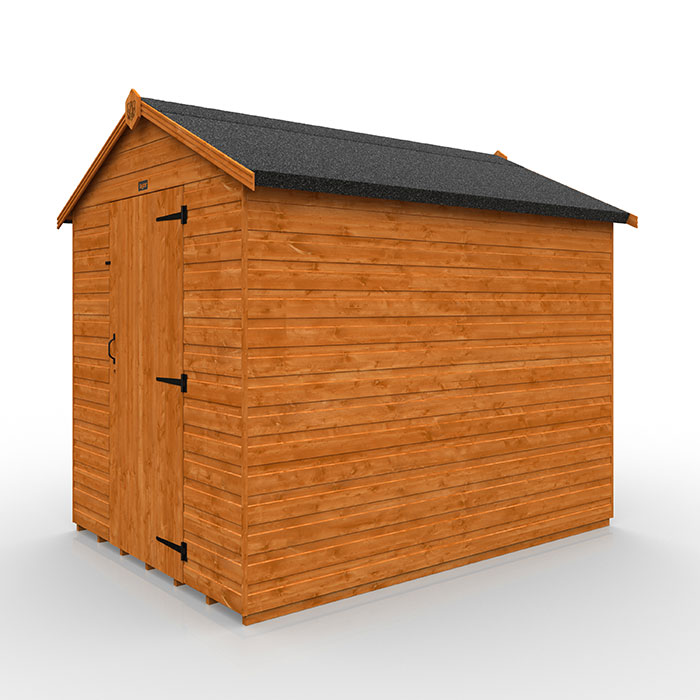
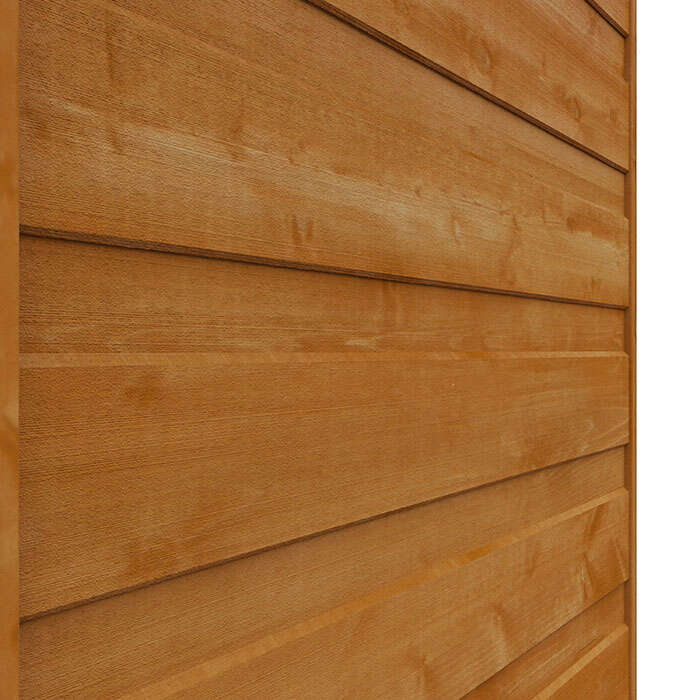
- Superior Grade 12mm Finish Shiplap T&G Cladding
- 28x44mm Finish Rounded Four Corner Framing
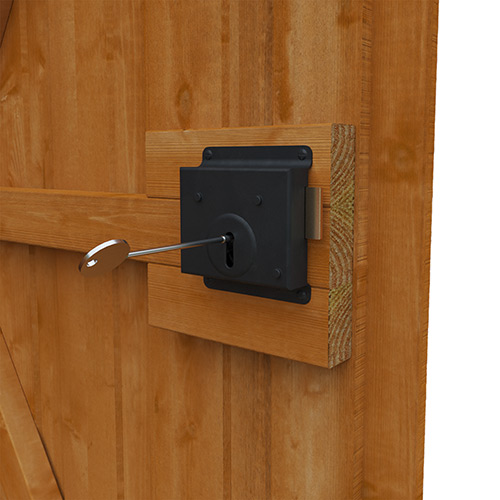
- Lock & Key Supplied As Standard
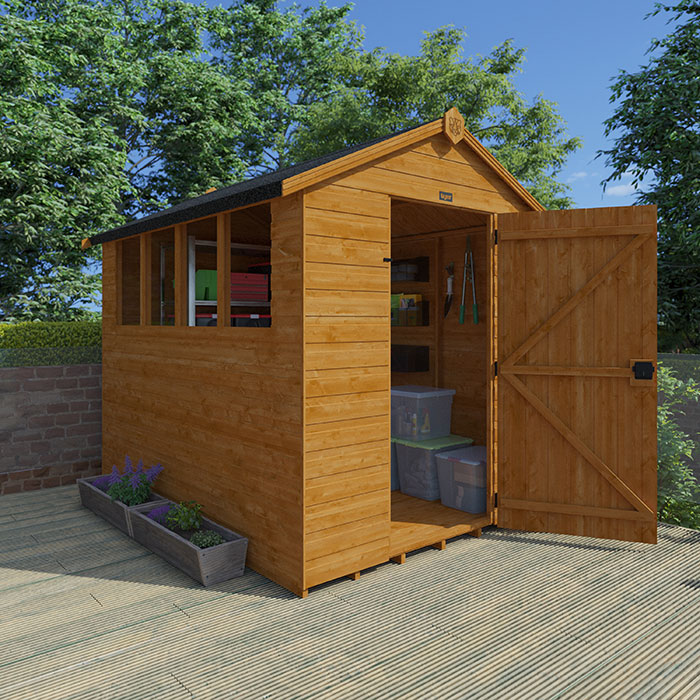
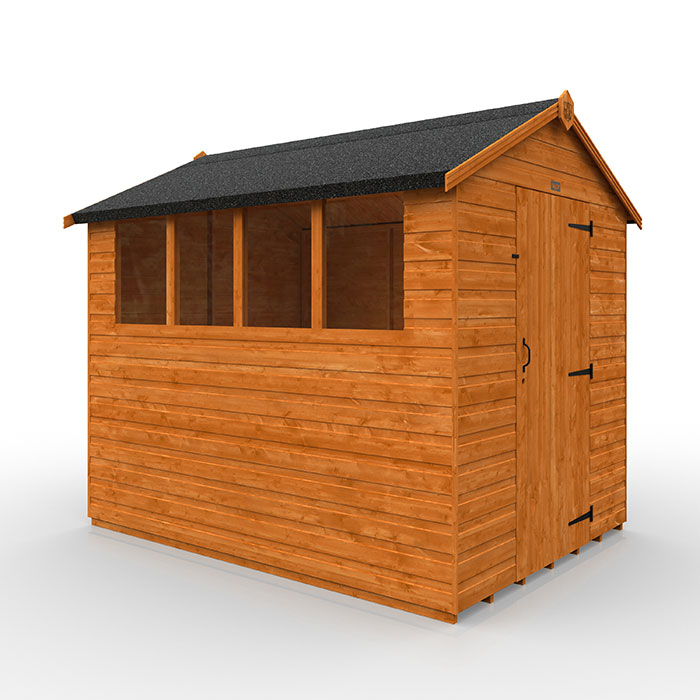
- Stylish Windows Can Be Fitted Either Side
- 12mm Thick T&G Roof and Floor - NO OSB / Solid Sheet Board
Why Choose Tiger?
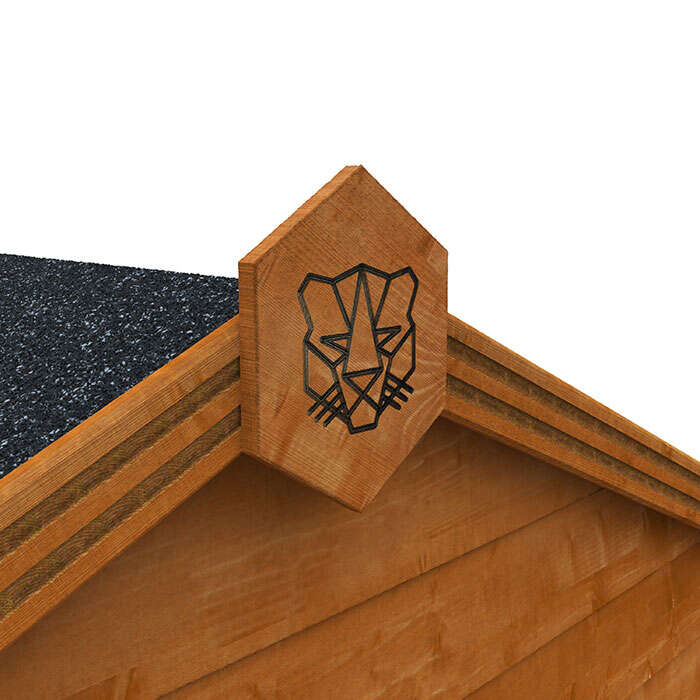
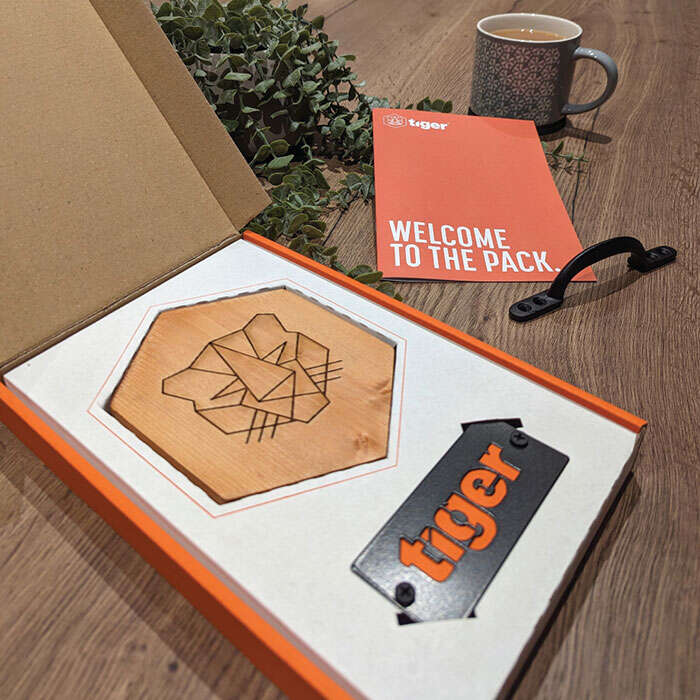
It’s not just the standard of the wood we use that defines a Tiger and marks it out as a high quality building, but the finishing touches and the extra care we take to ensure you can find your perfect space.Customer Reviews
See what our customer think about their Tiger Shiplap Apex Shed: (2207 Great Reviews)Customer Images
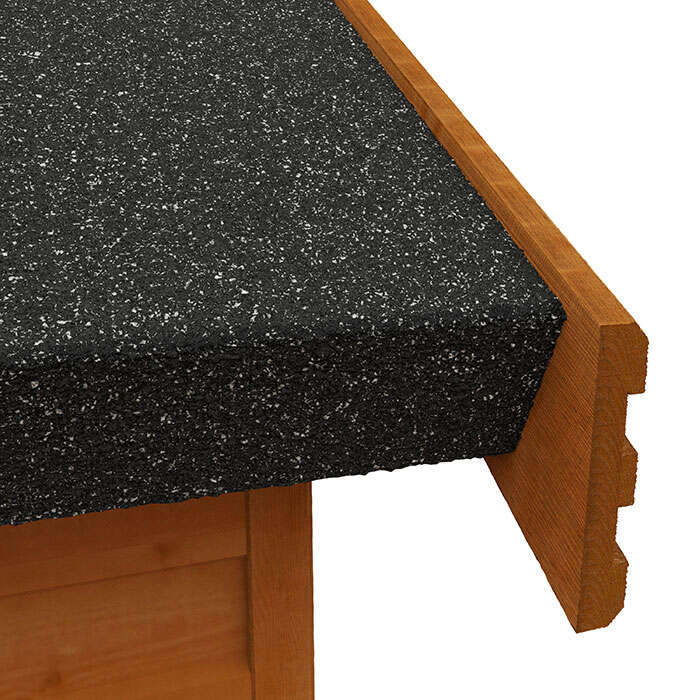
Use the hashtag #mytigershed to share your Tiger with the worldThe Tiger Shiplap Apex shed is one of Tiger Sheds more prominent and popular products. One fundamental reason for it being our bestseller comes from its superior grade tongue and groove shiplap cladding. Its classic design makes it one of the most popular garden sheds in the UK. The cladding, emphasising rigidity and security, comprises of a high quality selected European softwoods, protected with a TigerSkin water based treatment. This makes the Tiger Shiplap Apex Shed an excellent and aesthetically pleasing product providing an ideal storage space. The roof of the Tiger Shiplap Apex Shed is covered with a layer of heavy duty black mineral felt for further protection.
Internally, the ultra strong rounded four corner framework provides additional structure and strength to the overall garden shed. Another major benefit of the apex style is its increased internal height. Furthermore, a great reason to purchase this model is the stylish windows supplied as standard; The Tiger Shiplap Apex Shed has been designed to allow the customer the option to choose which side of the garden shed they want the windows to be positioned during assembly. The large well braced single access door on the shed’s gable end provides more than sufficient access to store large outdoor products such as barbeques and bicycles. This door incorporates a high security lock and key system, which is supplied free with the model.
It is essential that this garden shiplap apex shed is assembled strictly in accordance with the instructions supplied on a firm and level base constructed from a suitably durable material. It should also be
treated shortly after assembly and then annually thereafter with an appropriate high quality preservative and all glazing units must be sealed, inside and out, with silicone or other watertight sealant.
For more information on how to correctly assemble and maintain your shiplap apex wooden shed please consult our comprehensive help centre.
Please note - 10x8 and 12x8 floors may come in two sections with the floor joists running the 8ft direction. For clarification please speak to one of our telephone advisors.
All images and photography used is purely for illustrative purposes only – actual product colours may vary slightly due to the digital photography process and variations in individual user monitor settings.
View Technical DataFor delivery terms and conditions and further information click here

Technical Information Sizes are approximate only and refer to external dimensions excluding roof overhangs. For specific dimensions please consult our technical department. If you wish to download the technical data for this building, please visit the 'Downloads' section.

The TIGER 20 year guarantee offers protection against general timber rot and decay – the guarantee does not cover the product against timber splits or warping which may occur naturally over time.
To maintain the validity of this guarantee the product must be assembled strictly in accordance with the instructions supplied, treated annually with an appropriate high quality preservative and all glazing units must be sealed, inside and out, with silicone or other watertight sealant. For more information on how to correctly assemble and maintain your garden building please consult our comprehensive help centre.
Frequently Asked Questions
Get to grips with your new TigerIt is essential that all garden buildings are assembled on a firm and level base constructed from an appropriate and durable material.
Without the correct base, buildings may be very difficult to assemble. In many cases, an incorrect base may lead to future deterioration of the product if assembly cannot be completed correctly as a result. Problems may include doors dropping out of square and becoming difficult to open and close, and/or water leakage.
Assembling a garden building on an incorrect base is also likely to invalidate any guarantee that your product may carry.
For full details and examples of how to create an appropriate base visit our Build a Base Guide.
Unlike many sheds in the market, a Tiger shed will already come with a door lock and key as standard (and a free door pull). For added security, you can add a hasp and staple to your door, and they are easy to fit using both screws and holding bolts.
First place the staple on your shed at the desired level next to the door: position so the holding bolt(s) for the hasp will fit into the door's framing. Screw in place but leave some slots open for the later Insertion of holding bolts. The align the hasp with the staple to position it on the door, and mark its location on the door. Open hasp to reveal the fixing holes and screw hasp in place using at least 2x screws. Then fix the holding bolts: drill through the open slots on the hasp and staple into shed and door frame; tap each bolt through and add a washer and nut for each bolt; then tighten until secure. Then add your chosen padlock.
For a quick video guide, visit www.tigersheds.com/helpcentre/videos/ or click here to see how it is done.
To change a single shed door so that it opens outwards the other way, remove the door by unscrewing the hinges from the shed panel the door is fixed into.
Then rotate the door and place it back into the doorway.
Screw the hinges into the shed panel on that side, supporting the door from the inside.
Then reorientate the lock on the door - so unscrew it from the block on the back of the door frame, turn it 180 degrees and screw back on to the block (use the key for guidance for the best position).
The video guide at https://www.tigersheds.com/helpcentre/videos/ shows how to do all this. it is best done as a two-person job.
This is a very helpful accessory to keep your garden building door(s) open when you need easy access or additional ventilation on hot days. Hook and eye sets are simple to fit, and there are also helpful videos in the Help Centre here (or visit https://www.tigersheds.com/helpcentre/videos/).
Firstly, to find the best position, hold hook level on building suitable for good placement of eye on door. The eye location should match door framing on inside door, away from any glazing. Mark hook location on building (use spirit level if preferred). Then screw in the hook at chosen position.Then use the fixed hook to relocate the eye on the door and mark its location. Screw the eye into door frame - and the hook should fit securely into eye.
Fastfit Warm Floors are simple to fit and ideal for playhouses. Available in a selection of colours, they can brighten any child's play space, and are tough, durable and easy to clean and maintain.
There is a video guide to fitting a warm floor in the Help Centre video library - click here or visit www.tigersheds.com/helpcentre/videos/
If you would like to add window beading to your shed, select the Window Glazing Kit from the Window Options as you customise your shed.
To fix, apply sealant evenly around the inner window frame, then place window pane into the frame and press carefully to bond the sealant.
Position the beading around the inner frame and gently tap into place, starting with the top beading. Secure with panel pins (x3 left and right, x2 top and bottom).
Then apply the clear sealant evenly around the outer window edge.
There is an easy video guide to follow at in the Tiger Help Centre.
DO NOT mistake the long corner strips supplied with your shed for window beading.
TigerFlex sheds are delivered with fitted windows together with beading so do not require additional beading.
Every Tiger model has a set of helpful instructions to help assemble the building. A copy will be sent with your delivery, but there will be an electronic version on the product page in the DOWNLOADS section you can access. All the instructions can also be found in the Help Section in the Instructions library.
Request Your Free Tiger Sheds Brochure
Requesting your free brochure couldn't be easier... Simply click the button below. Enter your details and we will email the download links to our brochures to you. Request Brochure
Secure Payments

Get Social
Follow Us OnSpeak To An Expert
Tel: 0113 537 0007
Mon-Fri 9am-5pm











.jpg)
.jpg)
.jpg)
.jpg)
.jpg)
.jpg)
